INSTRUCTION GUIDE FOR USERS:
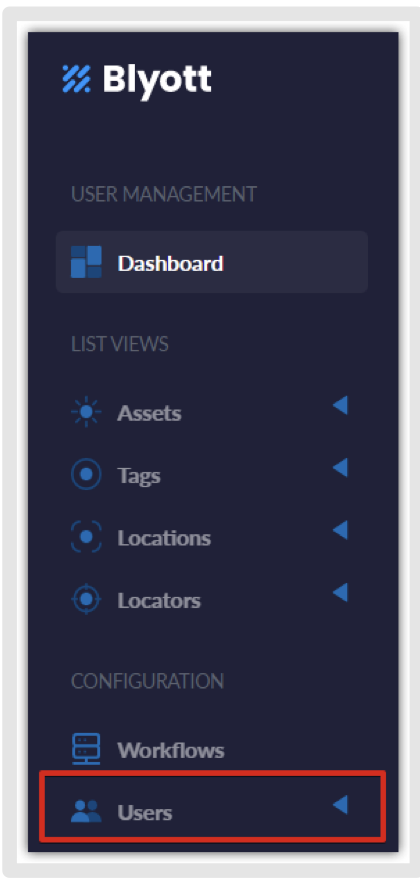
Select the “Users” tab from the left-side panel (take note that different screen sizes change the panel’s layout; on smaller screens, the panel will be on the right side because of the responsiveness of the webpage - RWD).
Select the “+ Add User” icon from the top left corner of the screen.

Fill in all data fields. The data fields marked with “*” are mandatory while others are optional.
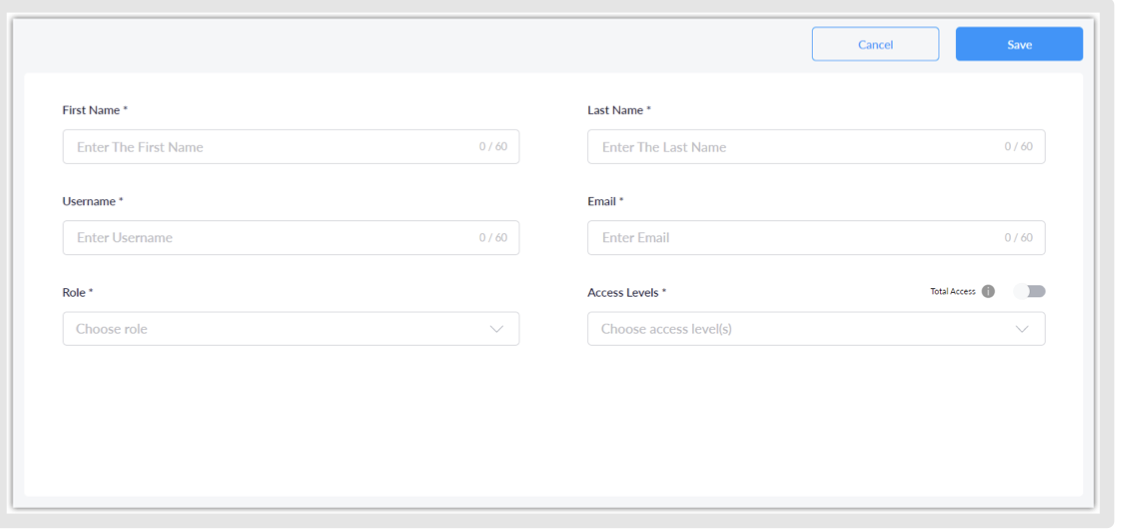
“Username” - select an appropriate one for the user that will be visible throughout the platform (make sure that it doesn't contain any white spaces).
Additionally, be reminded, “Username” is the unique value, and if you get an error message: “There is already user with given username” you need to choose a different one so you can create the user successfully.
- "Administrator” has access to the Edit Portal and Search Portal.
- “User” has access to the Search Portal only
- “UserPlus” this role, when logging via the Portal, will have Search Portal access just like the User role but will have API privileges to create/edit Asset/Tags in order to link them via the Student Scan App.
“Access Levels” if you mark “Total Access” that will give the user access to all assets.
If you want to give a user access to specific assets only, then the access levels need to be created and assigned to the user from the dropdown list.
Be aware that someone with an “Administrator” role will be able to make changes within the platform.
If you have any questions or suggestions at all, please feel free to get in touch with us at helpdesk.blyott.com
Thanks and regards,
The Blyott Support Team